


")


Авторский контент! Чтобы поделиться материалом используйте кнопки соцсетей.
При цитировании материалов активная индексируемая ссылка на соответствующую страницу сайта ellej.org обязательна. © Crochet by Ellej.
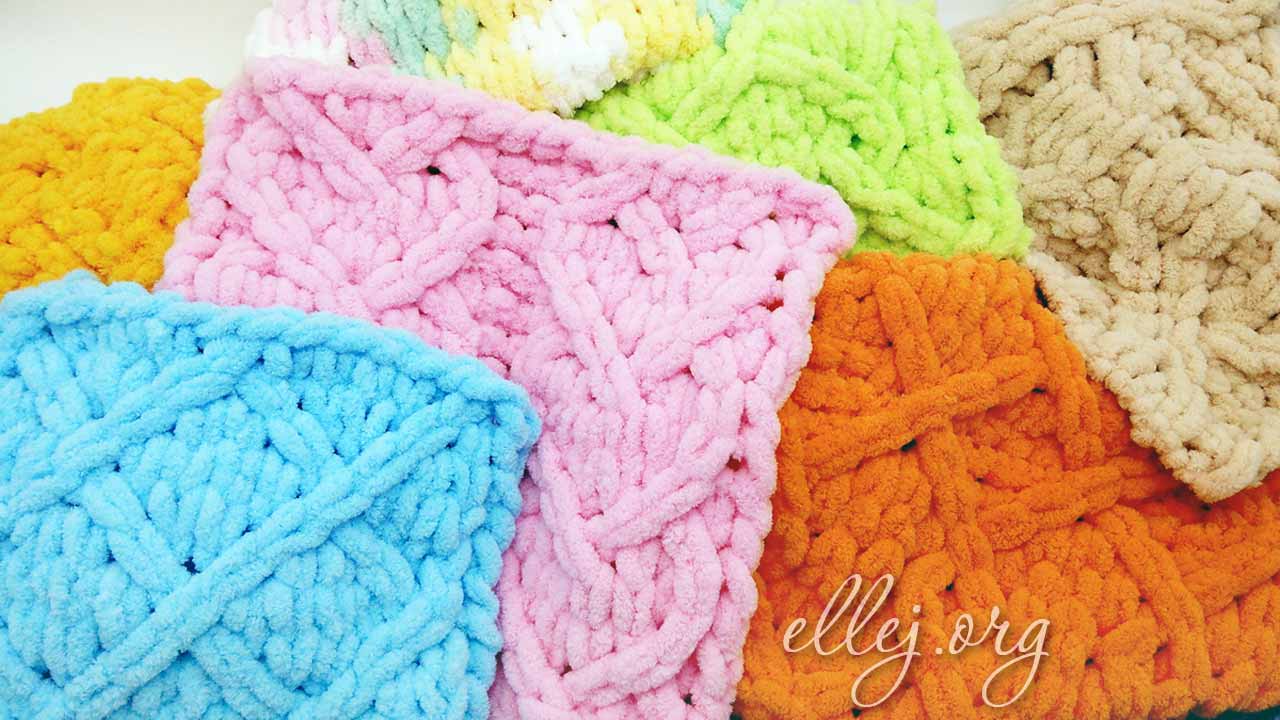
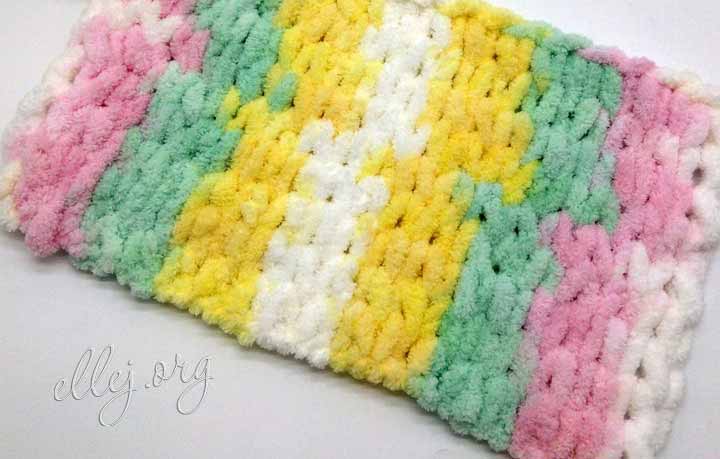
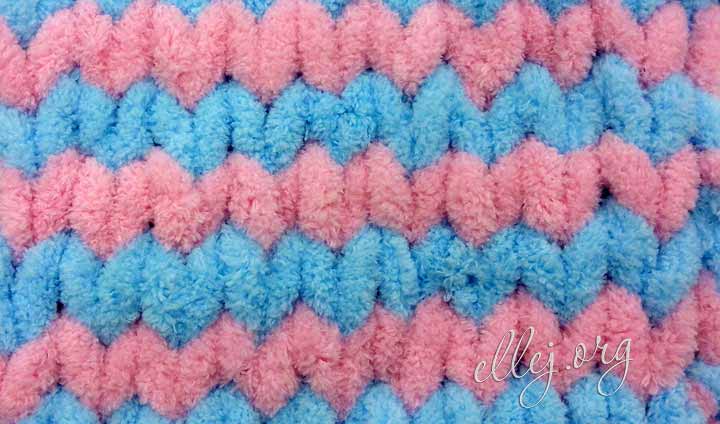
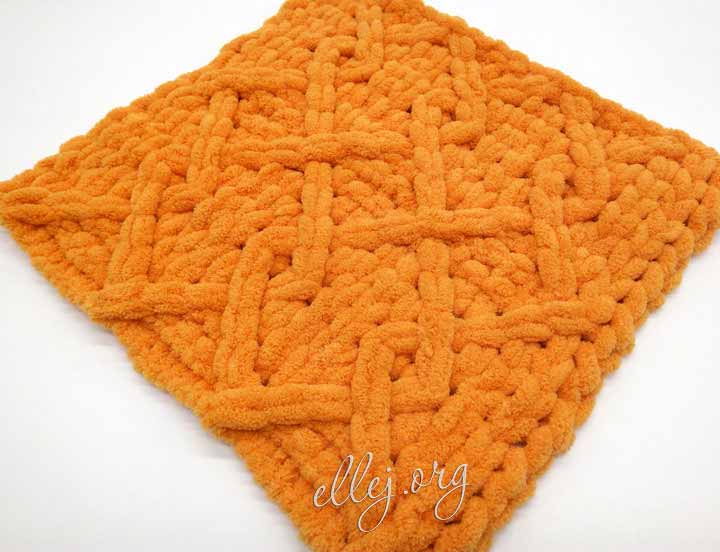
The release of the new Alize Puffy has generated an incredible interest among knitters, and even those who don’t know how to knit. That’s because to create an item with this yarn, you don’t need a crochet hook or knitting needles – you can simply knit it with your fingers.
Crafters have already come up with an incredible number of patterns, and I’m sure this is just the tip of the iceberg. Even though there are very few elements, their combinations are endless. Another thing I discovered is that you can use patterns designed for knitting with just knit and purl stitches to create patterns with Alize Puffy. The resulting patterns may not be as textured as those with interlacing elements, but they are still worth exploring.
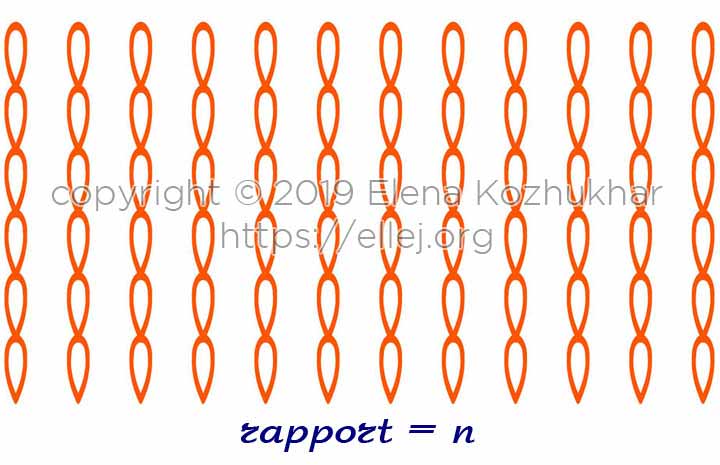
For myself and for you, I have decided to create my own “symbolic language” for knitting with alize puffy and showcase it in charts.
The symbols in the charts are made with Alize Puffy
At the moment, I have already drawn many patterns that you can find on my chat
They use only 4 different elements:
- Knit stitch. Insert the working yarn loop from the wrong side facing you.
![]()
- Purl stitch. Thread the loop of the working thread from the front side towards yourself. It’s possible to turn the fabric on the reverse side and knit it as a front loop, if it’s more convenient for you to work with front loops.
![]()
- Twisted stitch – right loop on top. Cross the loops on the fabric so that the right one is on top and knit with the face stitches.
- Twisted stitch – left loop on top. Cross the loops on the fabric so that the left one is on top and knit with the face side.

How to read the chart
Knitting patterns are read from bottom to top. We read rows alternately from right to left and then from left to right. The very bottom row is the “cast-on row”. So, we take our working yarn and cast on the required number of stitches – this is our bottom row in a raw, or preparatory, state.
For all of my patterns, I have highlighted the selvedge stitches that are always worked as knit stitches. This is done so that a beautiful edge braid is formed along the edge of the finished item.
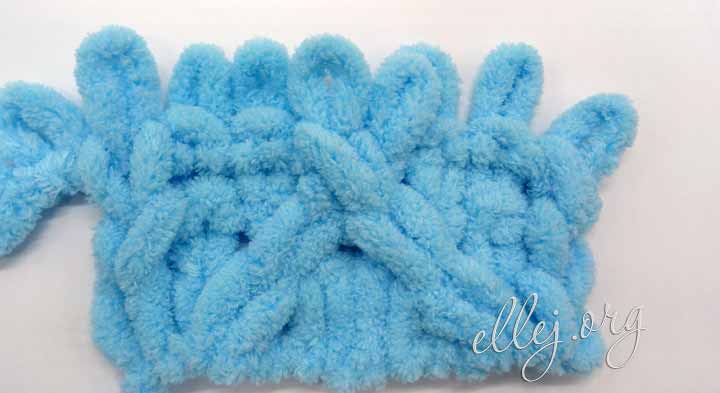
Moving on, we take our working yarn and start working these stitches just as indicated in the pattern we have chosen. Let’s consider an example of knitting three rows.
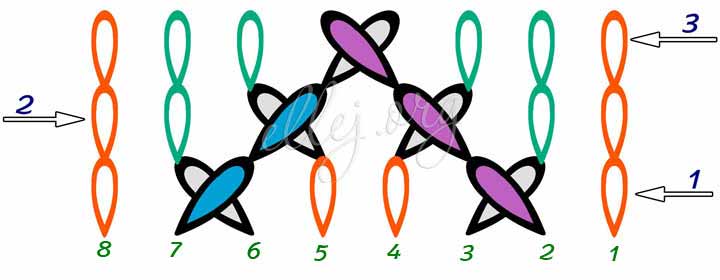
Row 1
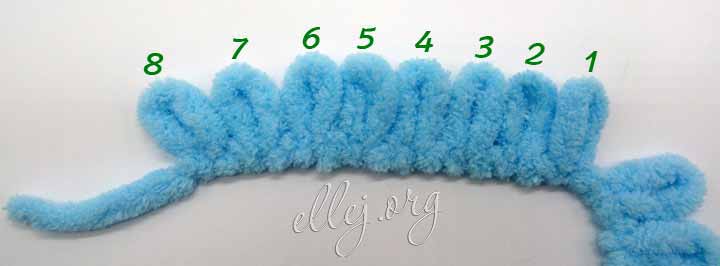 So. We need 8 stitches as a sample. The first and eighth stitches are selvage stitches and we always knit them as knit stitches (right side facing).
First loop – Knit stitch
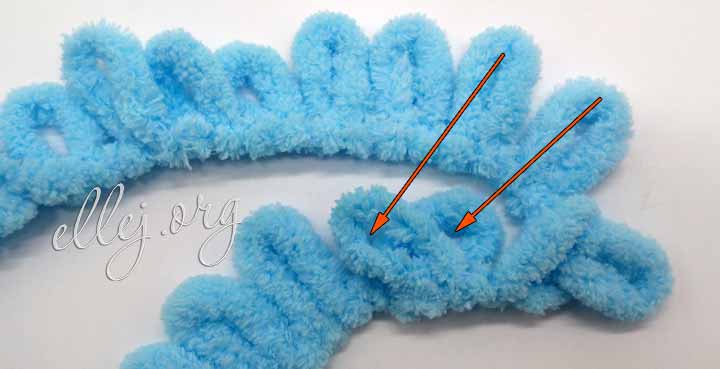
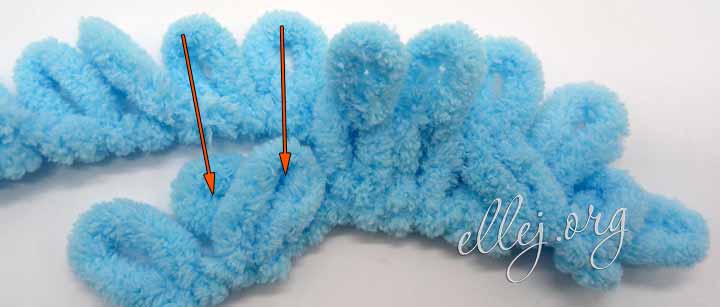
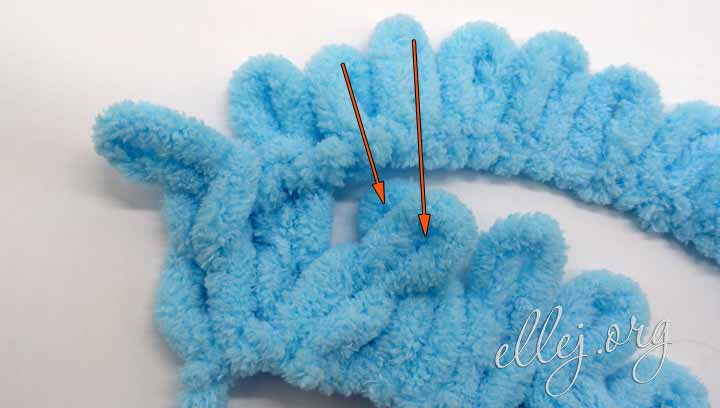
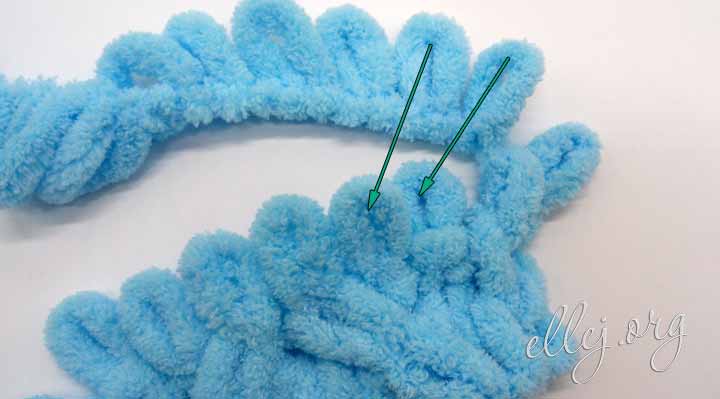
We cross the second and third loops so that the second one is on top, and then knit them together purlwise. First, we knit the one that is below (loop 3)…
…then the one on top (loop 2).
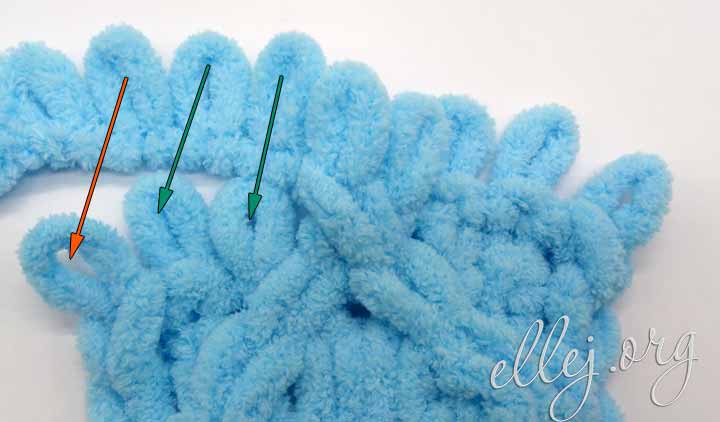
Loops 4 and 5 – Knit stitches.
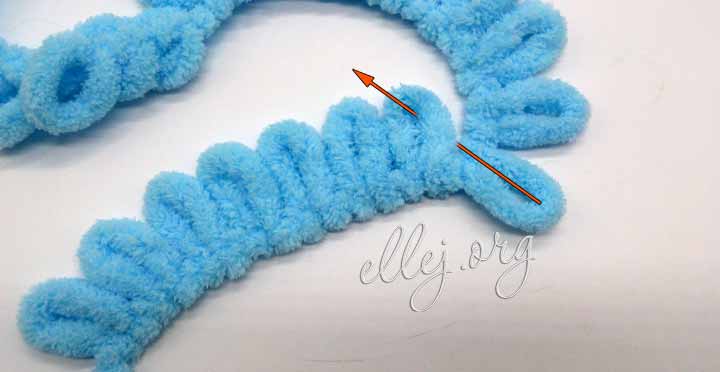
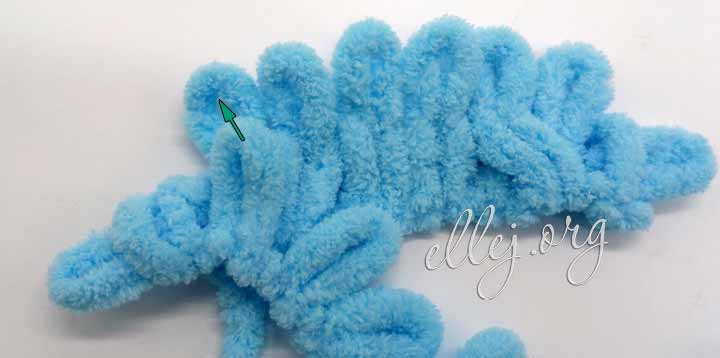
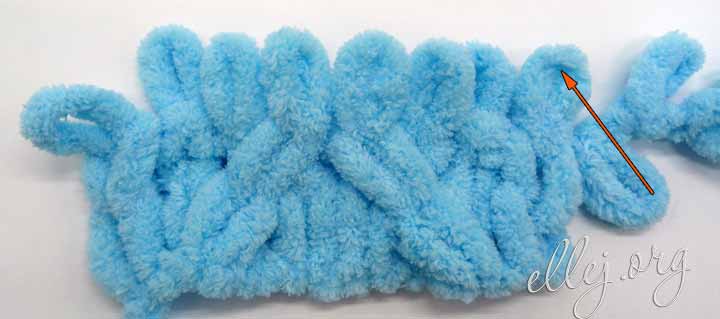
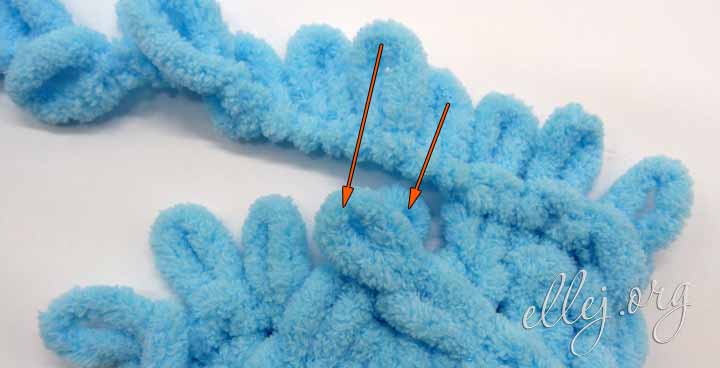
We cross loops 6 and 7 so that loop 7 is on top. On the working thread, skip 1 loop and first knit the loop that is below (loop 6) …
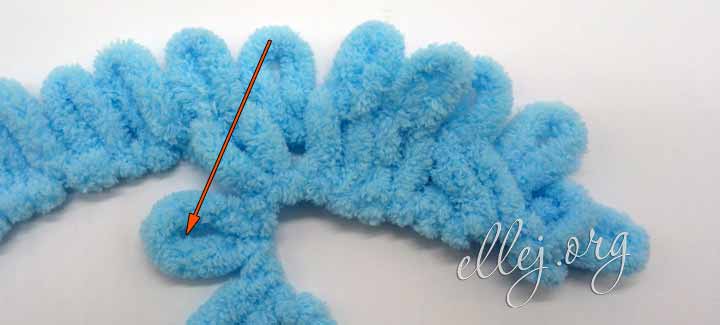
…and then a loop from above (loop 7).
Last llop – Knit stitch.
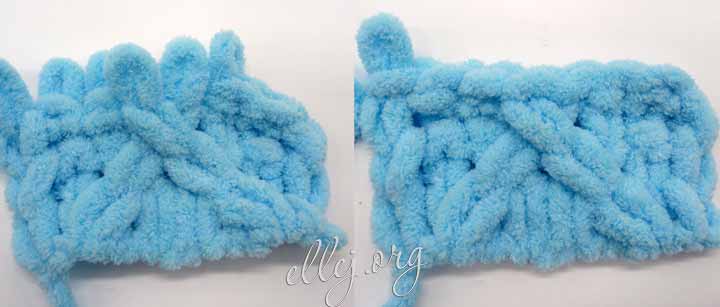
Row 2

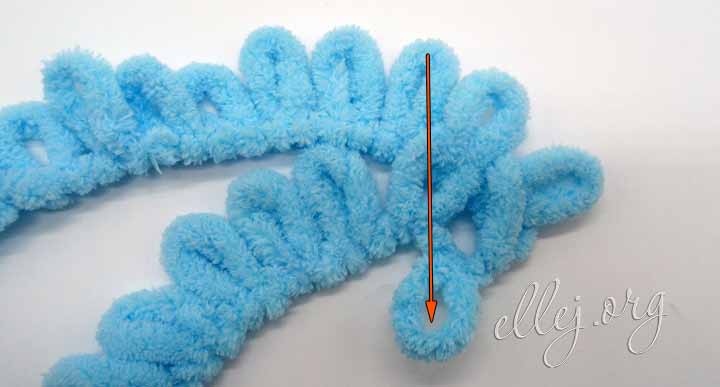
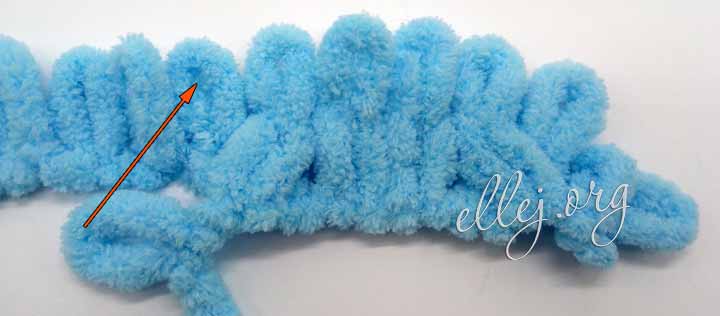
We knit from left to right. We bring the next loop on the working thread through the front from the last loop of the previous row. This is a selvage loop.
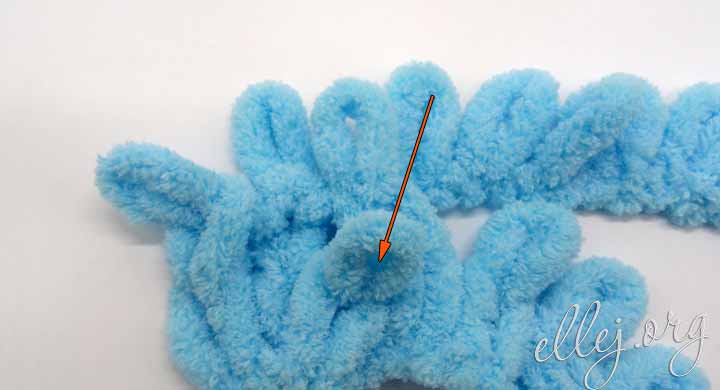
The next – Purl stitch.
Place the working thread on the fabric and pull the loop from the right side to the wrong side.
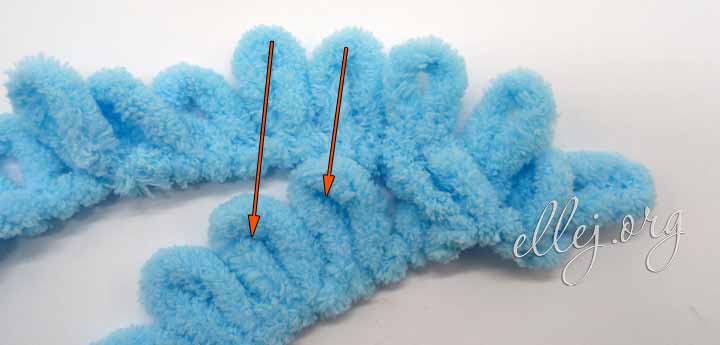
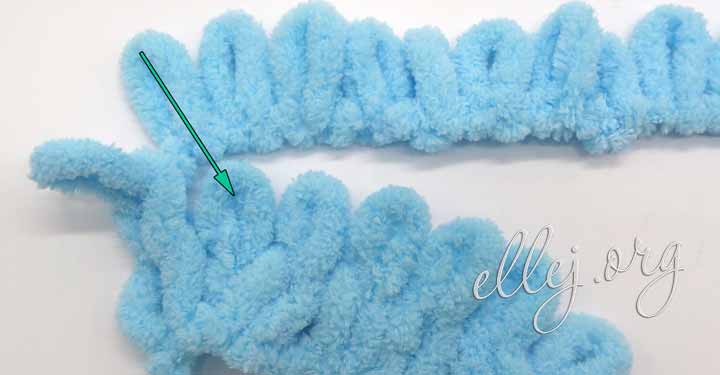
We crossed the loops (left on top, right on bottom) and we knit them with facial ones. First the one below.
Now the one on top.
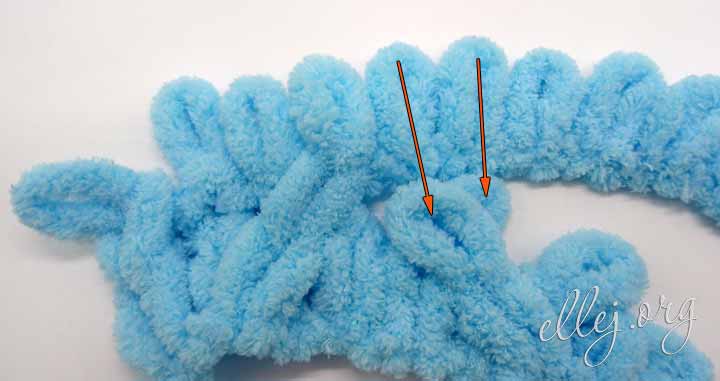
The next two loops were crossed in reverse. Now the left is on the bottom and the right is on top. We knit facial. We leave one loop for the top one and knit first the bottom one, then the top one with that left loop.

Then one purl and the last edge – front.
Row 3
We knit from right to left. Selvage loop – Knit stitch
2 Purl stitch.
Cross the loops so that the right one is on top, and knit with the front stitches.
Next – 2 purl and 1 knit stitches.
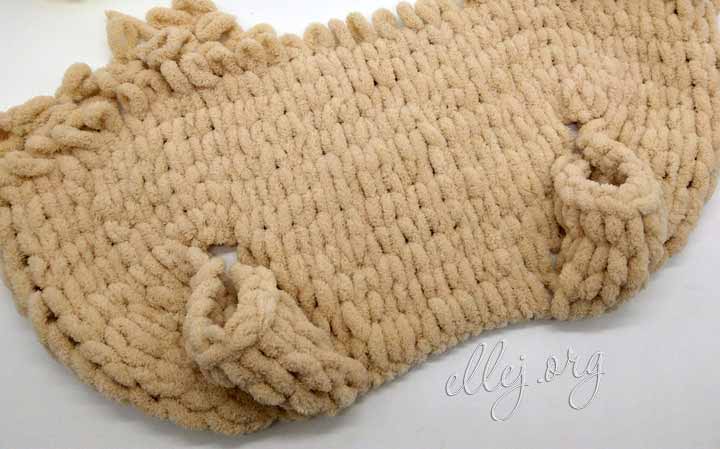
Our training 3 rows are ready! It remains to close the loops.
We begin closing loops from the opposite end of the working thread. Take the last two loops and pull the second to last through the last one. Now it has become the last loop. Take the next loop and pull it through the new last loop. That loop has become the last one now, and so on…
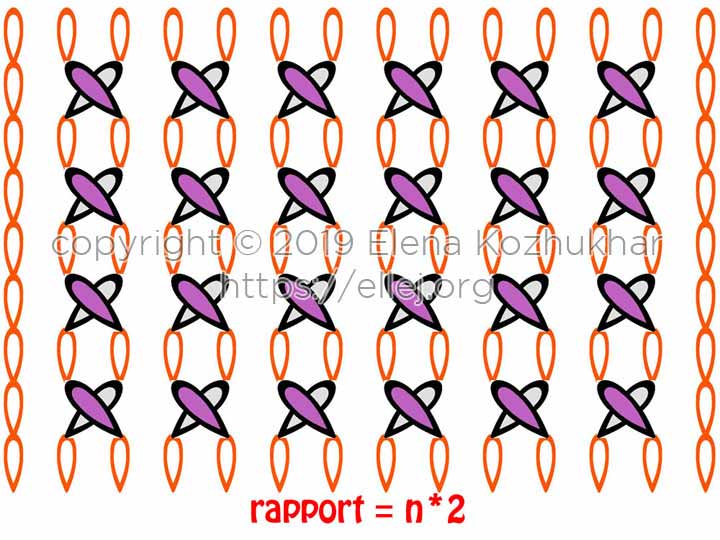
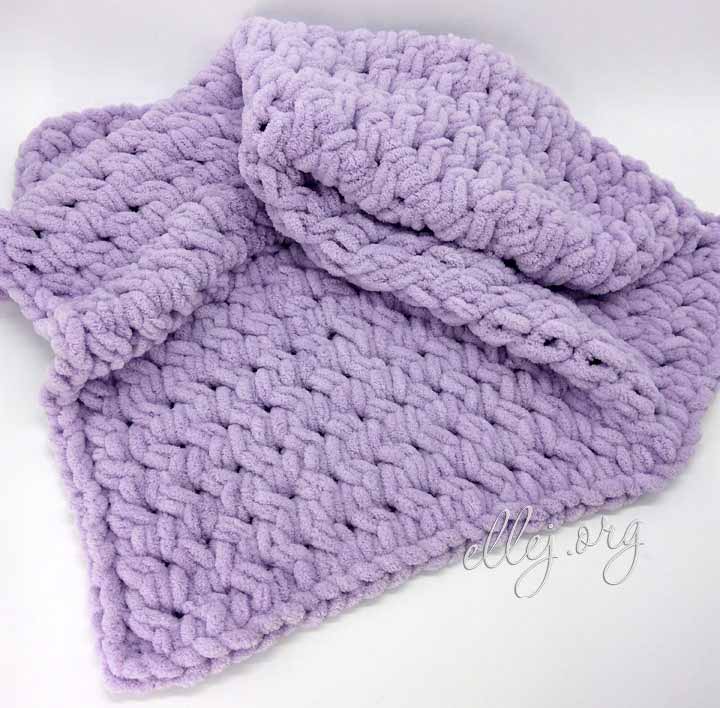
Some example diagrams
№ 1
№2
№3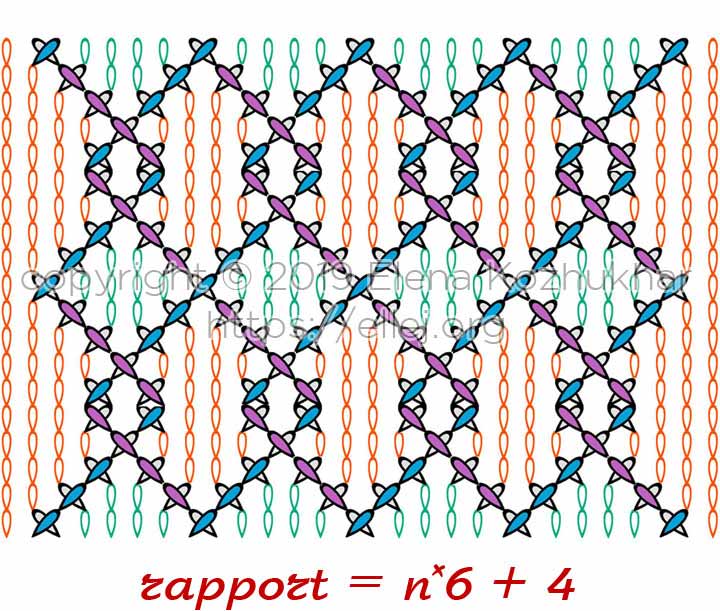


