Авторский контент! Чтобы поделиться материалом используйте кнопки соцсетей.
При цитировании материалов активная индексируемая ссылка на соответствующую страницу сайта ellej.org обязательна. © Crochet by Ellej.
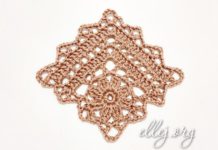
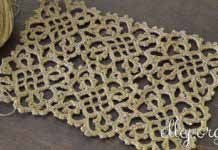
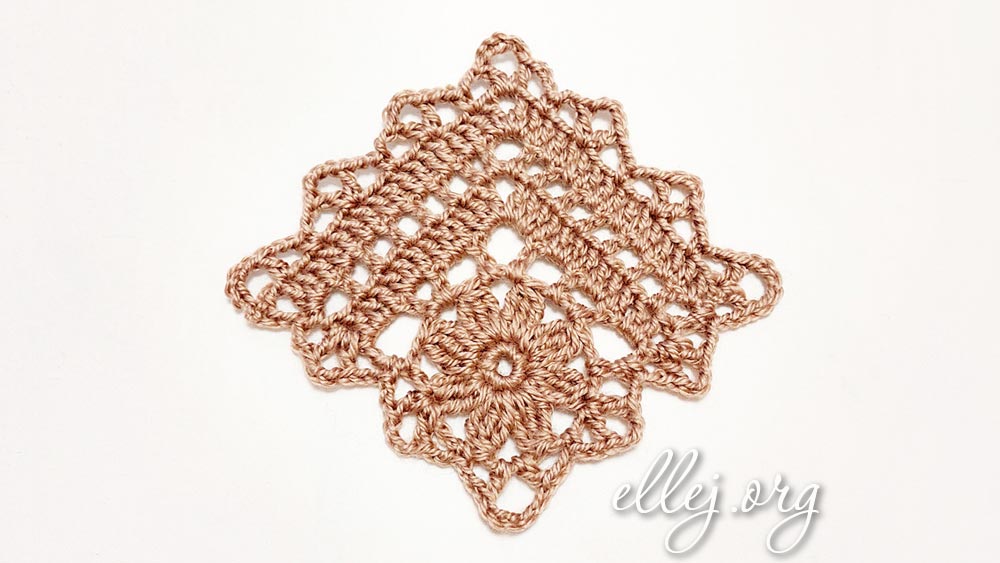
In the world of crochet, there are endless possibilities for creating stunning designs and patterns. One such mesmerizing motif is the Lunar Blossom, a square lace pattern featuring an intricate flower at its center. In this article, I will provide a step-by-step photo tutorial, along with a diagram and detailed instructions for crocheting this elegant motif. Additionally, I’ll showcase a gorgeous crocheted top made using these exquisite motifs.
Step-by-Step Photo Tutorial: (will be soon)
Abbreviations (US):
Ch: chain,
Sc: single crochet,
Dc: double crochet,
Tr: treble crochet,
Hdc: half double crochet,
Sl st: slip stitch,
St: stitch.
Written pattern:
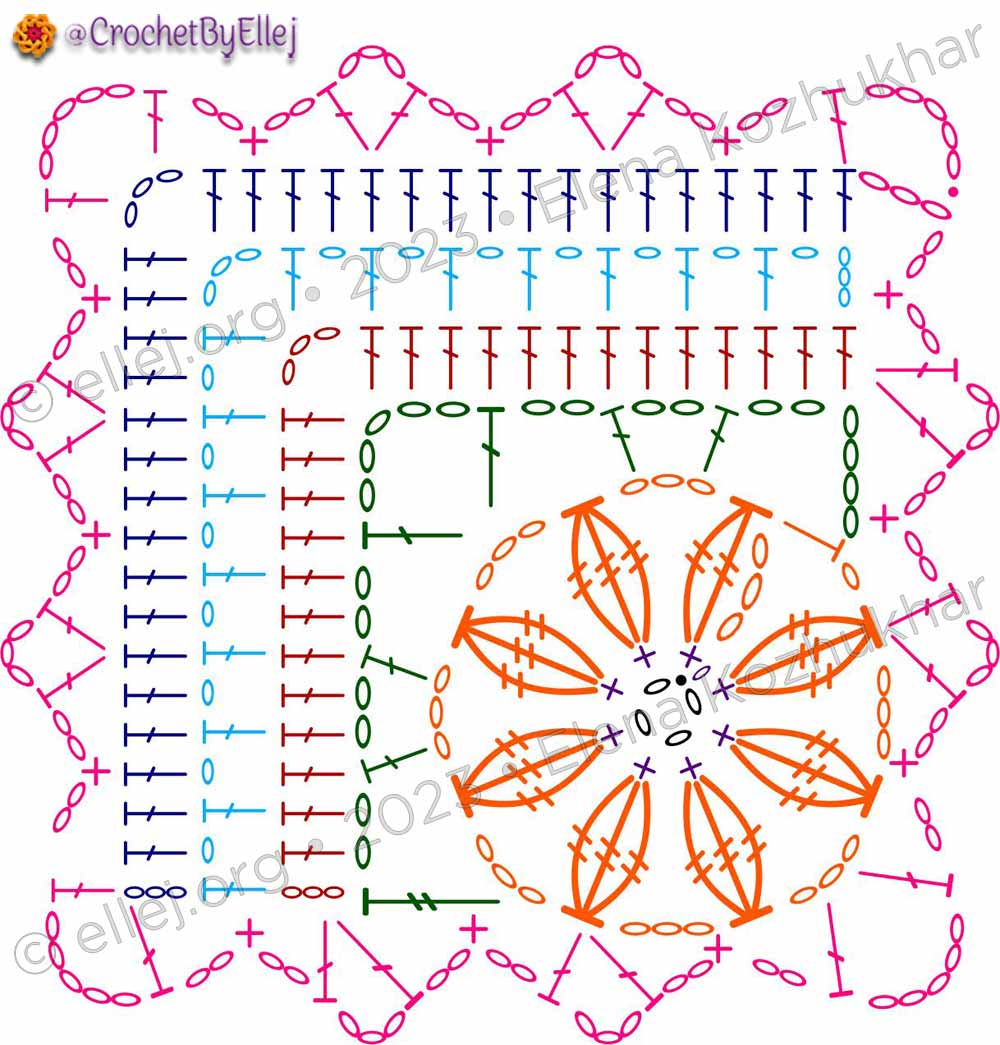
1. Ch 4, sl st in very 1st ch.
2. Ch 1, 8 sc in ring, sl st in 1st sc.
3. Ch 3, 2 tr together in 1st sc, ch 3, *3 tr together in next, ch 3* repeat 6 times, 3 tr together, ch 1, hdc into the top of the 2 tr tog. TURN.
4. Ch 6, (dc, ch 2 dc) in next ch2 space, ch 2, (dc, ch 5, dc) in next ch2 space, ch 2, (dc, ch 2 dc) in next ch2 space, ch 2, tr in next ch2 space. TURN.
5. Ch 3, make dc to the corner. Total 12 dc, ch 3, 13 dc to the next corner. TURN.
6. Ch 4, skip 1 st, *dc in next, ch 1, skip 1 st* repeat 6 times, (dc, ch 3, dc, ch 1) in ch3 space, dc in next dc, skip 1 st, ch 1, *dc in next, ch 1, skip 1 st* repeat 6 times, dc in last st. TURN.
7. Ch 3, 14 dc in each next st, (2 dc, ch 3, 2 dc) in ch3 space, 15 dc in each next stitch. DO NOT TURN!
8.
-
- Side 1: Ch 5, sc under ch3, ch 2, (dc, ch 3, dc) under next dc, ch 2, sc under ch4, ch 2, (dc, ch 3, dc) into the top of the 3 dtr tog, ch 2, sc in next ch3 space, ch 2, (dc, ch 5, dc) in next ch3 cpase, ch 2
- Side 2: sc in next ch3 space, ch 2, (dc, ch 3, dc) into the top of the 3 dtr tog, ch 2, sc under tr, ch 2, (dc, ch 3, dc) under next ch3, ch 2, sc under ch3, ch 2, (dc, ch 5, dc) in corner, ch 2
- Side 3: skip 2 st, sc in next, ch 2, skip 2 st, (dc, ch 3, dc) in next, ch 2, skip 2 st, sc in next, ch 2, skip 2 st, (dc, ch 3, dc) in next, ch 2, skip 2 st, sc in next, ch 2, (dc, ch 5, dc) in ch3 space, ch 2
- Side 4: skip 1 st, sc in next, ch 2, skip 2 st, (dc, ch 3, dc) in next, ch 2, skip 2 st, sc in next, ch 2, skip 2 st, (dc, ch 3, dc) in next, ch 2, skip 2 st, sc in next, ch 2, dc in las st, ch 5. Slip stitch in 3rd ch.
Crochet chart for Lunar Blossom motif
Creating a Stunning Crocheted Top:
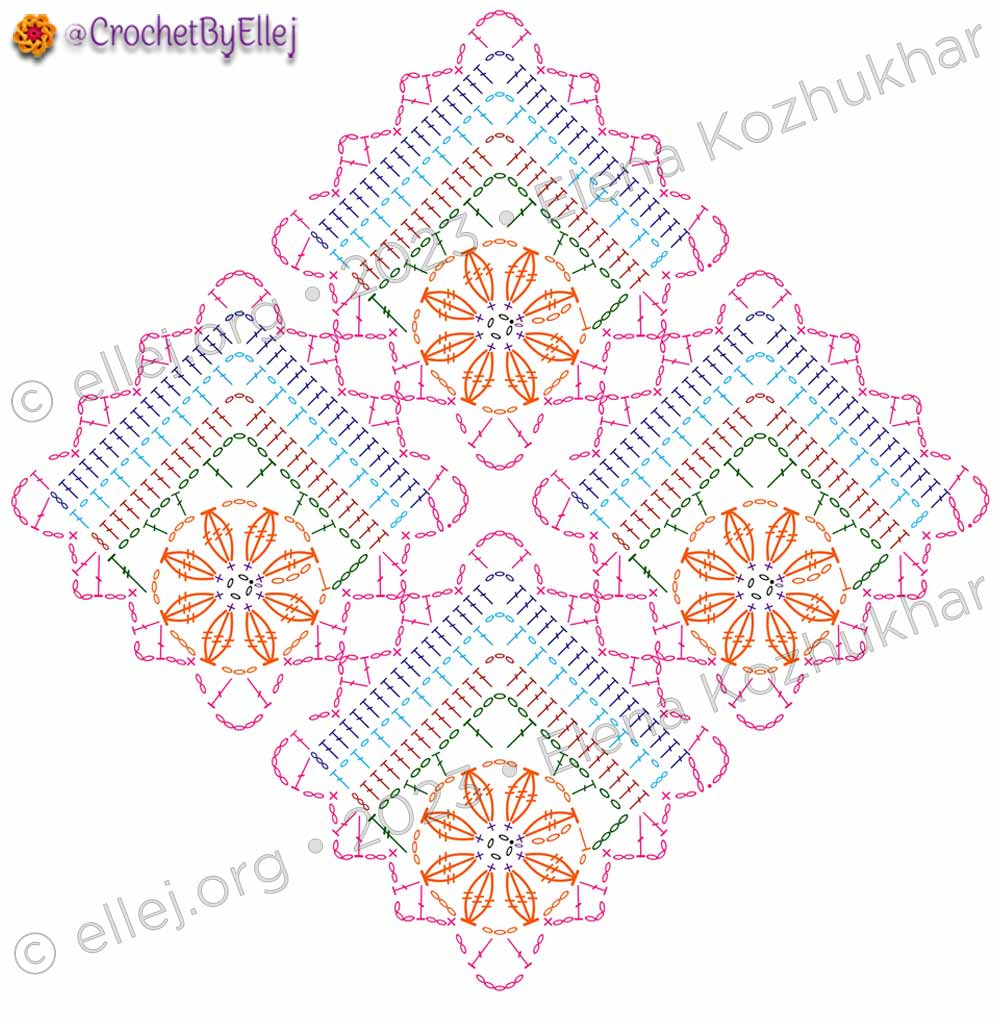
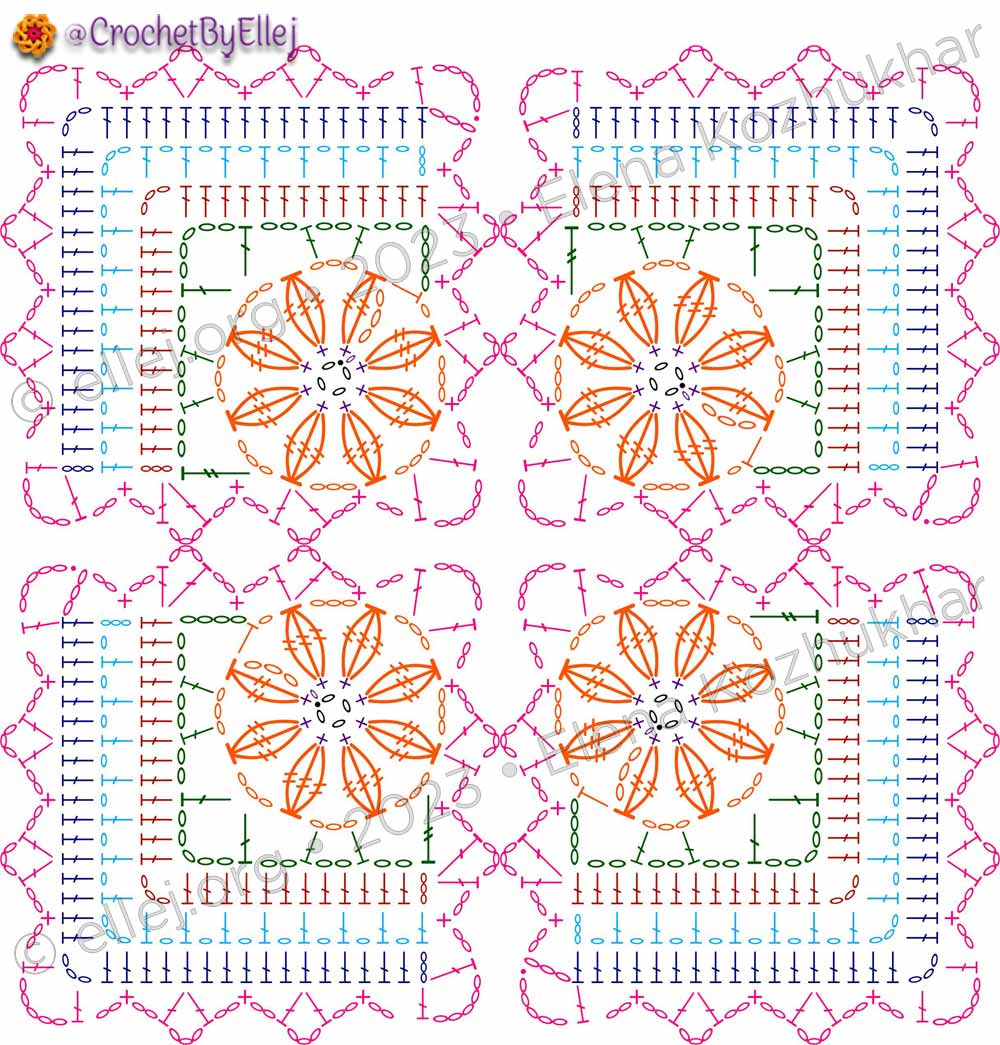
With your Lunar Blossom motifs ready, let’s explore the possibilities of incorporating them into a crocheted top. Combine multiple motifs together, ensuring they are positioned the way you want. You can customize the placement to achieve your desired design.
The versatility of the Lunar Blossom motif makes it ideal for various creative projects. You can incorporate it into blankets, scarves, shawls, or even design your unique clothing pieces like the beautiful crocheted top shown. Let your imagination run wild and experiment with different color combinations and arrangements.
Congratulations! You have successfully learned how to crochet a beautiful square lace motif known as the Lunar Blossom. I hope this step-by-step tutorial, along with the included photo master class, diagram, and detailed instructions, has helped you in creating this enchanting design. Don’t forget to experiment with different colors and yarn weights to bring your own unique touch to the Lunar Blossom motif. Happy crocheting!
For example
_____
If you want to share this pattern, please share the link to this web page. Please do not distribute the crochet chart or accompanying photos in any other form.
You can support my creativity and simply say THANK YOU ♥ How to do it, see here → How to say thank you


